
How to create Beautiful Nature Render with Blender
Master essential techniques with my 6+ hour course, guiding you step-by-step through the foundational skills.
Course Summary
I’ll walk you through my creative process, from finding inspiration to installing the asset browser and setting up a custom layout in Blender. From there, we’ll sculpt the base landscape, import our assets, and set up the lighting.
Next, we’ll dive into materials; water shader, displacement, and more before adding cliffs, large rocks, and other details. We’ll continue refining the background and foreground, add the final touches, then cover render settings, rendering, and post-processing.
Course Outline
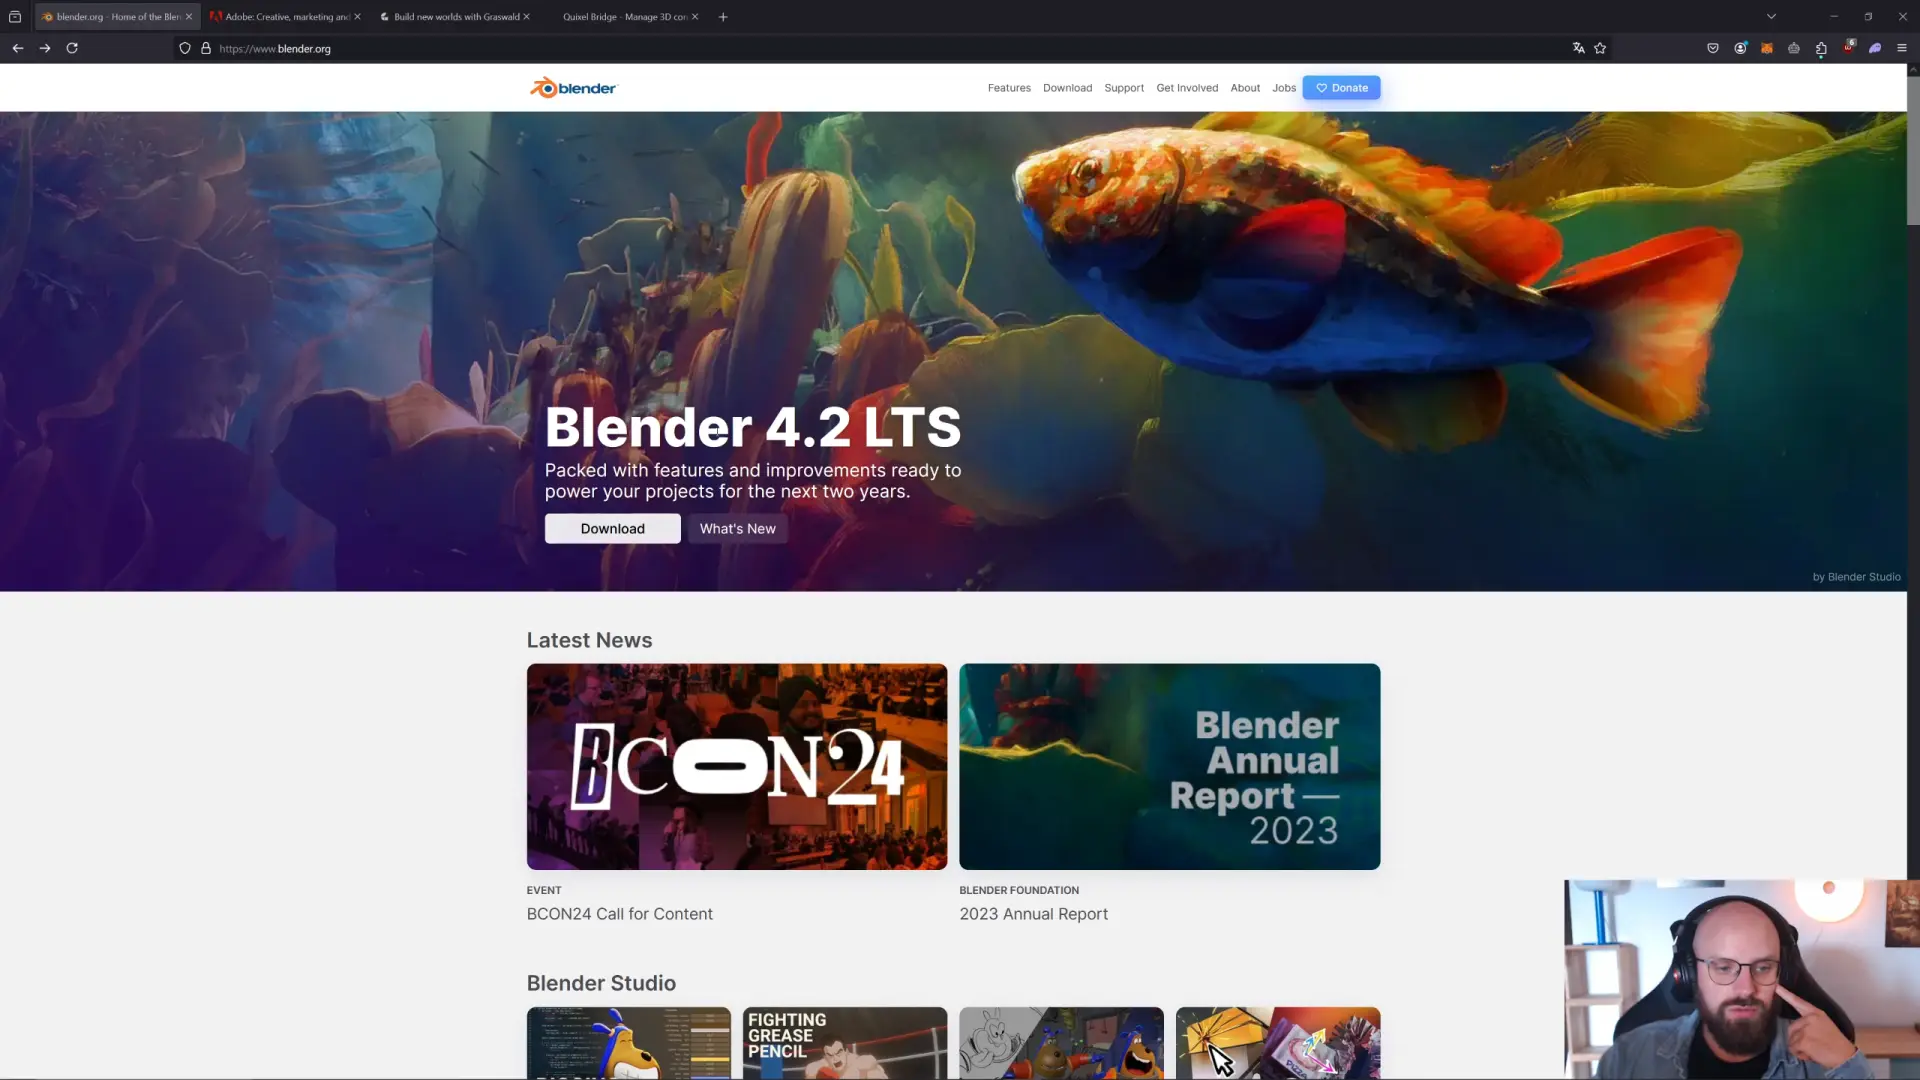
MODULE 1 – INTRODUCTION
Here, we cover the aim of the course, download programs, and resources.
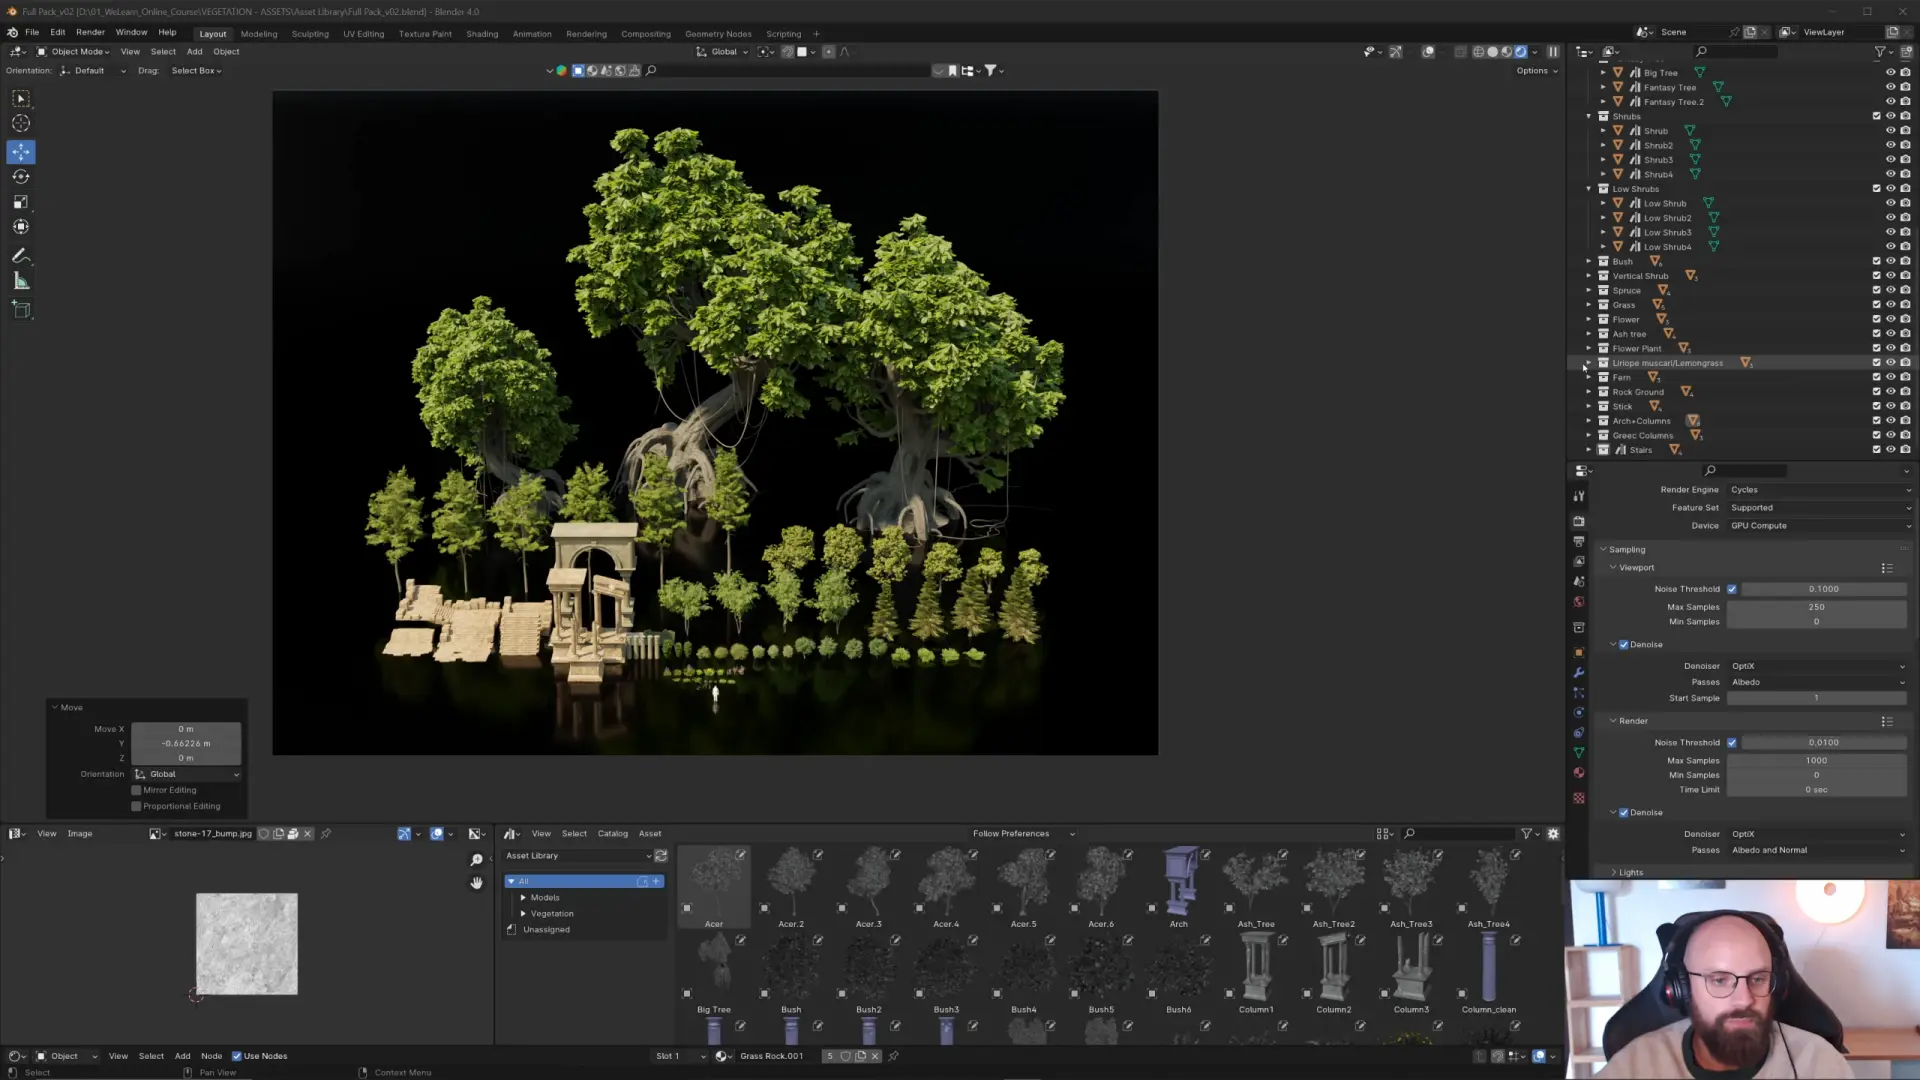
MODULE 2 – FUNDAMENTALS
Set up the asset library, customize the viewport, how to get inspired, and presentation of the assets.
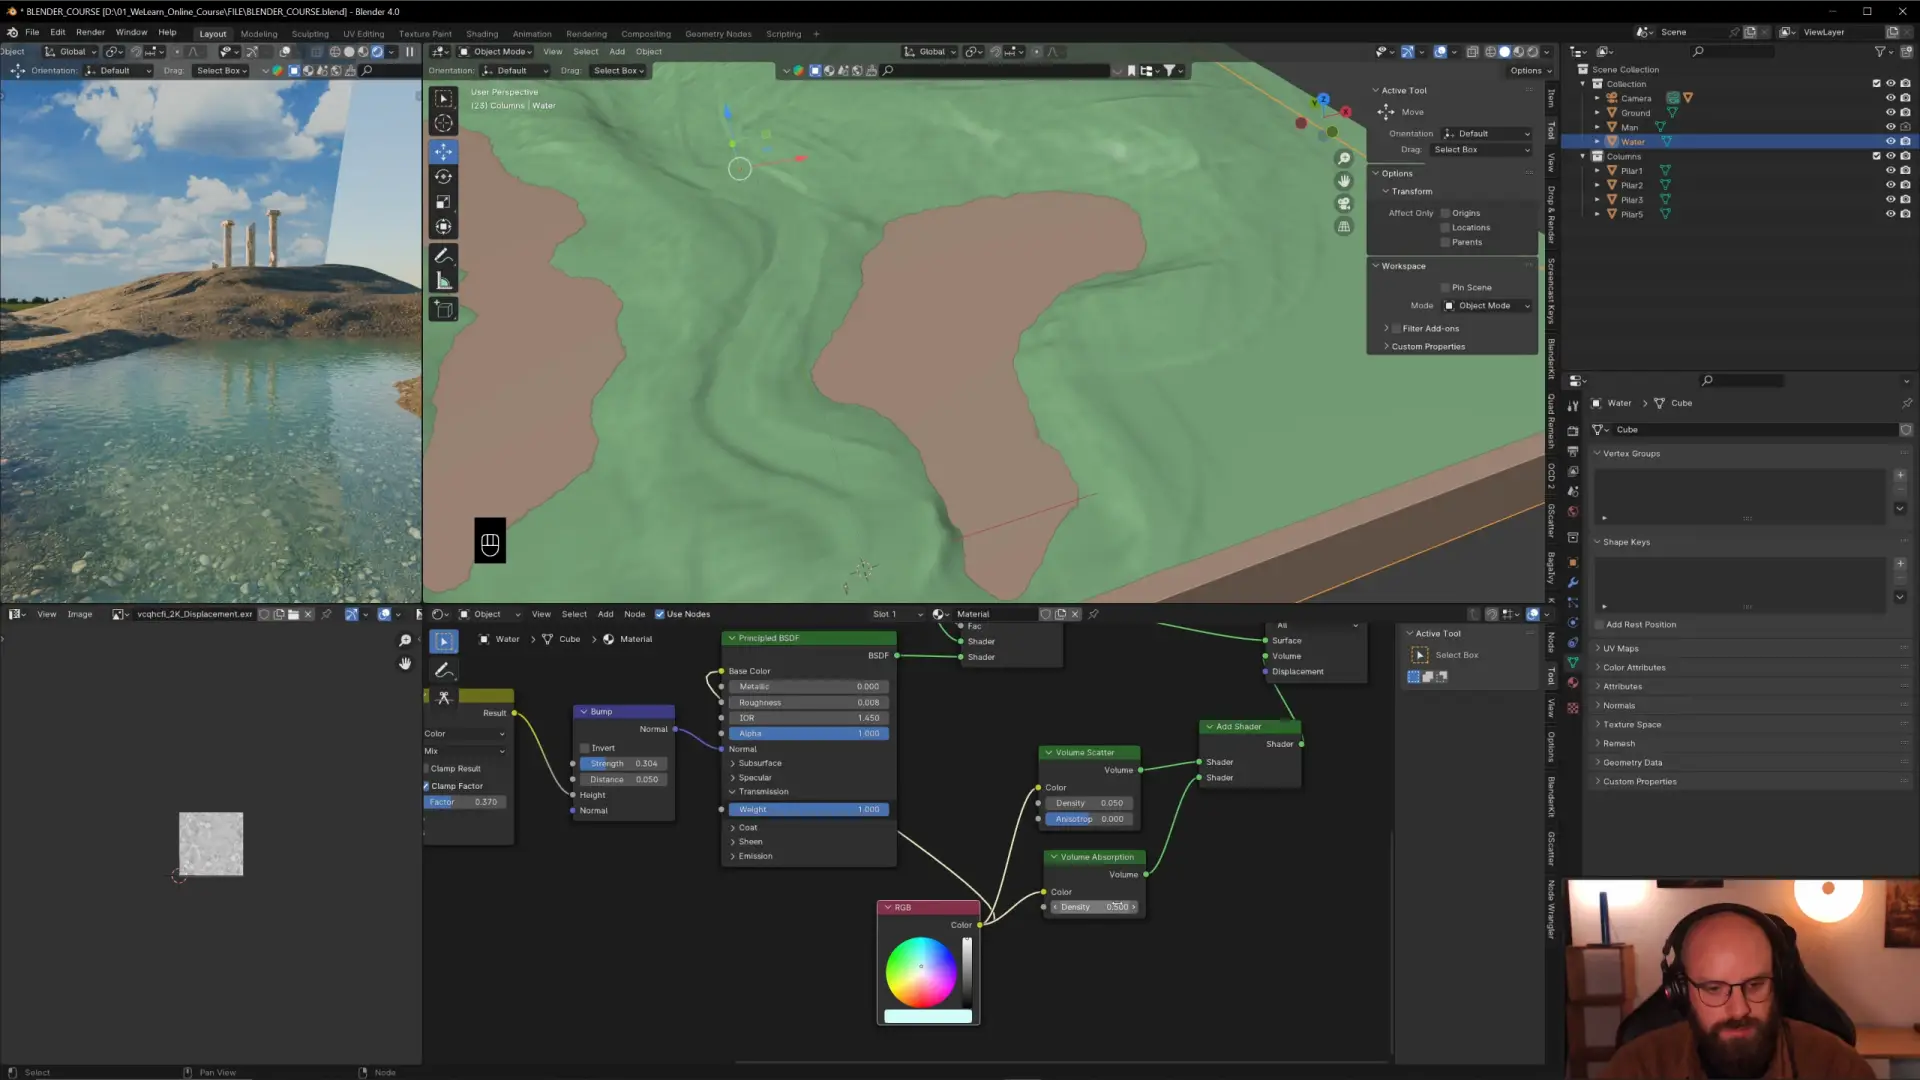
MODULE 3 – ESTABLISHING THE SCENE
Here, we will start sculpting the base landscape and setting up the lighting and sky texture.
Texture the landscape, step up the camera, and create the water shader.
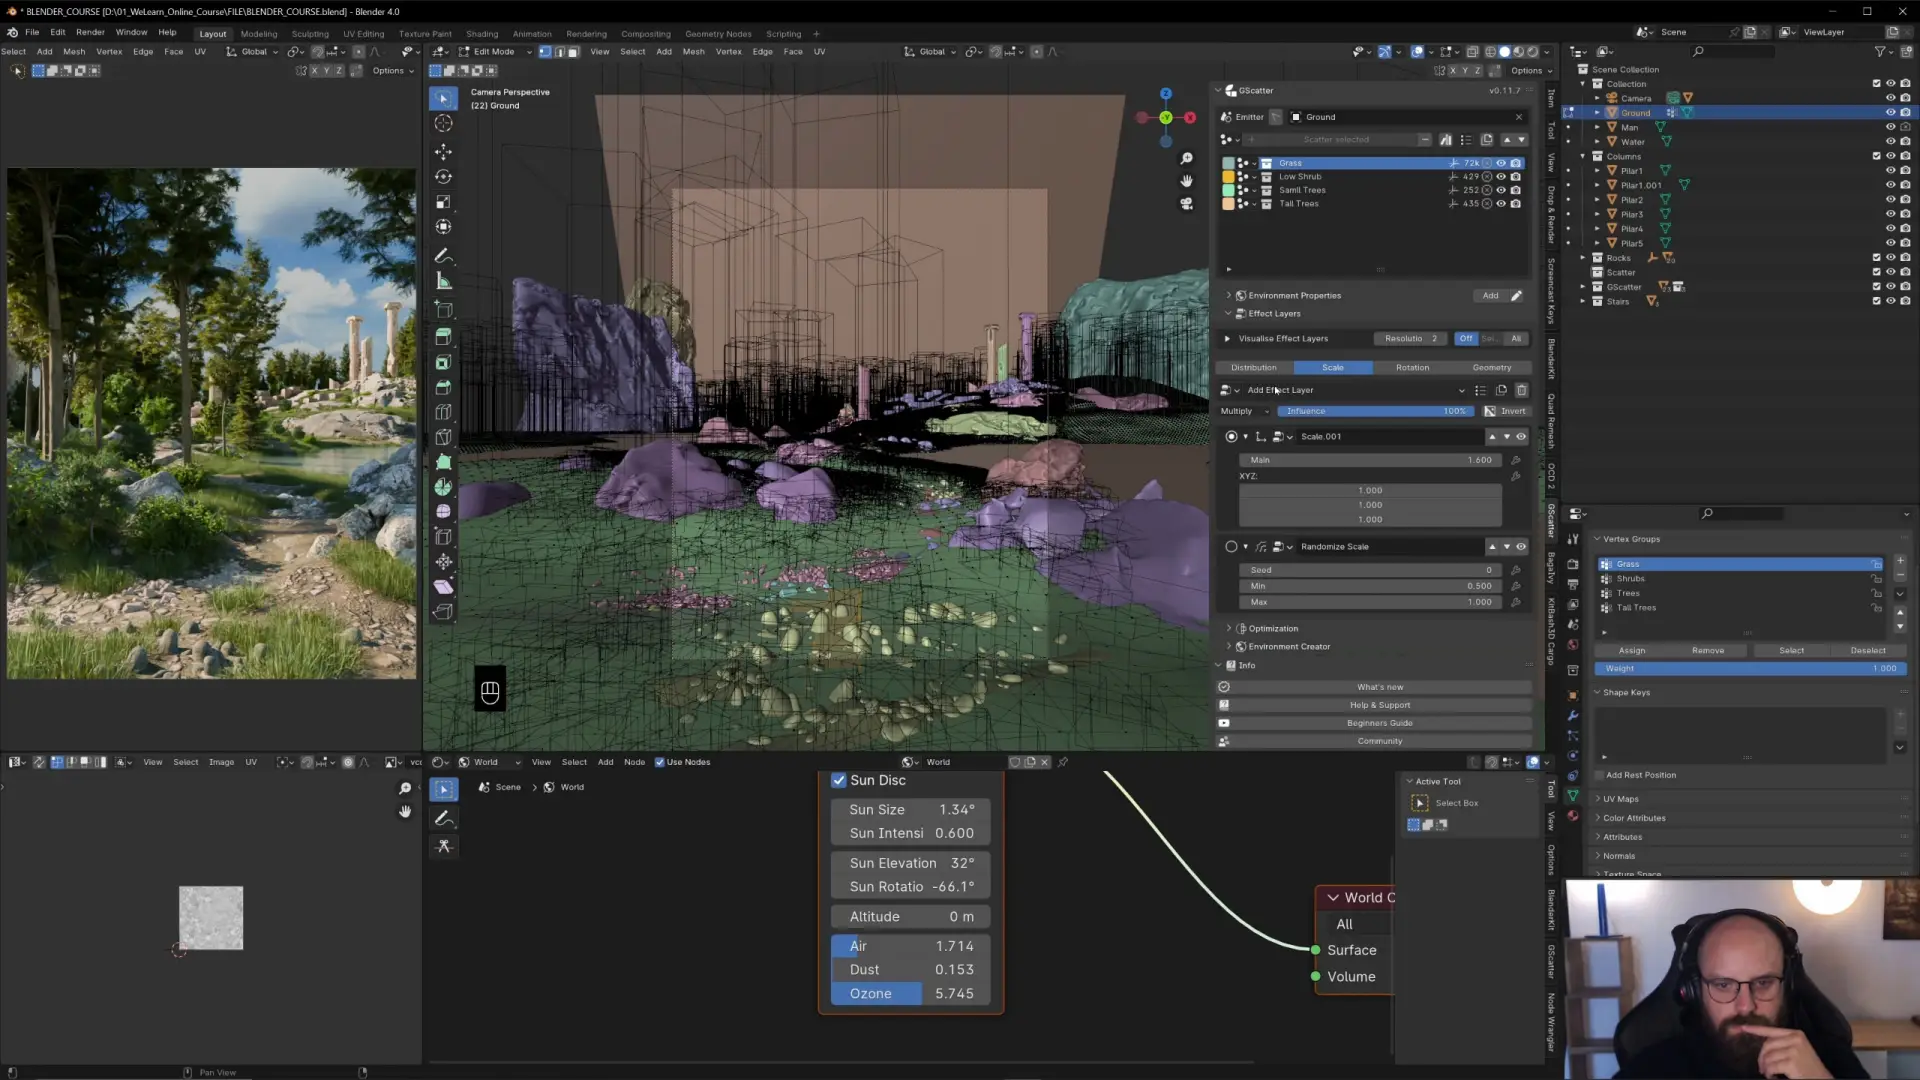
MODULE 4 – ADDING DETAILS, ROCKS + VEGETATION
We will start adding rocks, I will show you how to create scatter system with Gscatter, and working on the main subject.
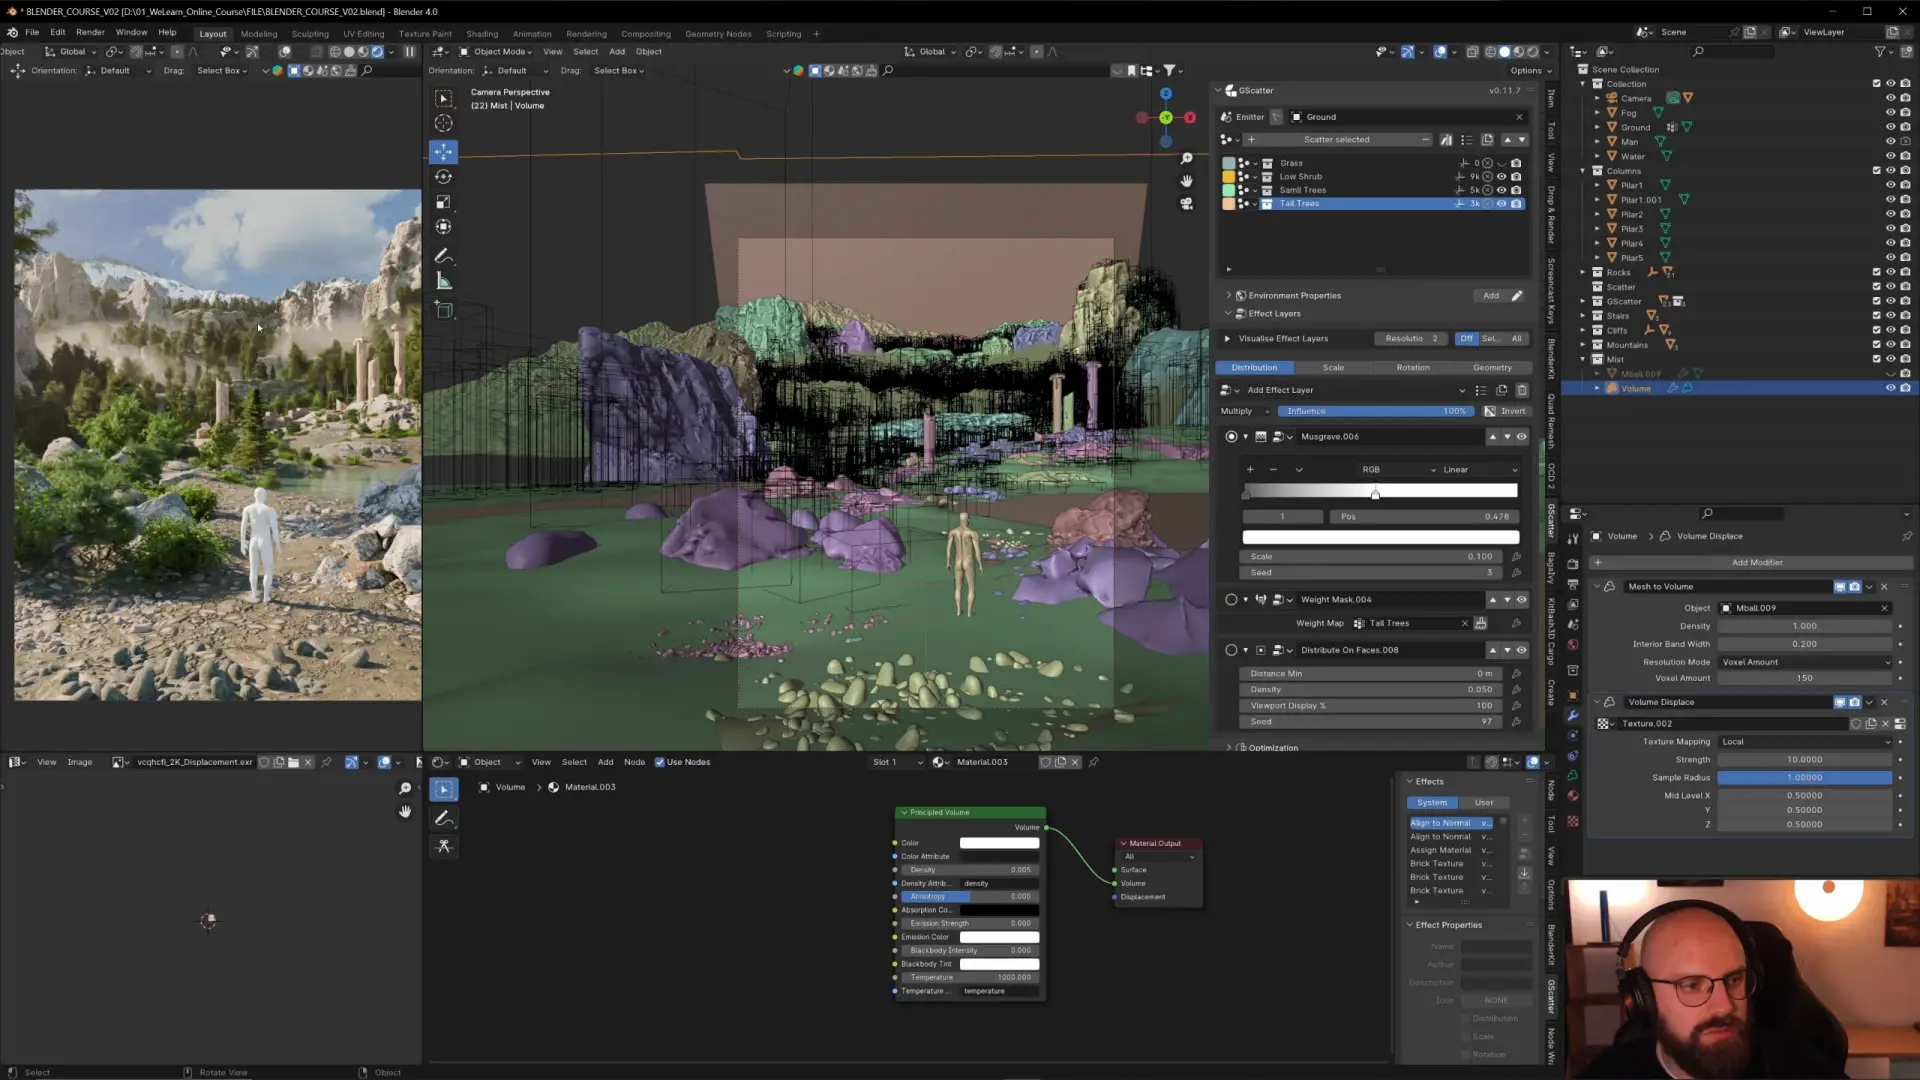
MODULE 5 – DETAILING THE BACKGROUND
Here, we will start sculpting the base landscape and setting up the lighting and sky texture.
Texture the landscape, step up the camera, and create the water shader.
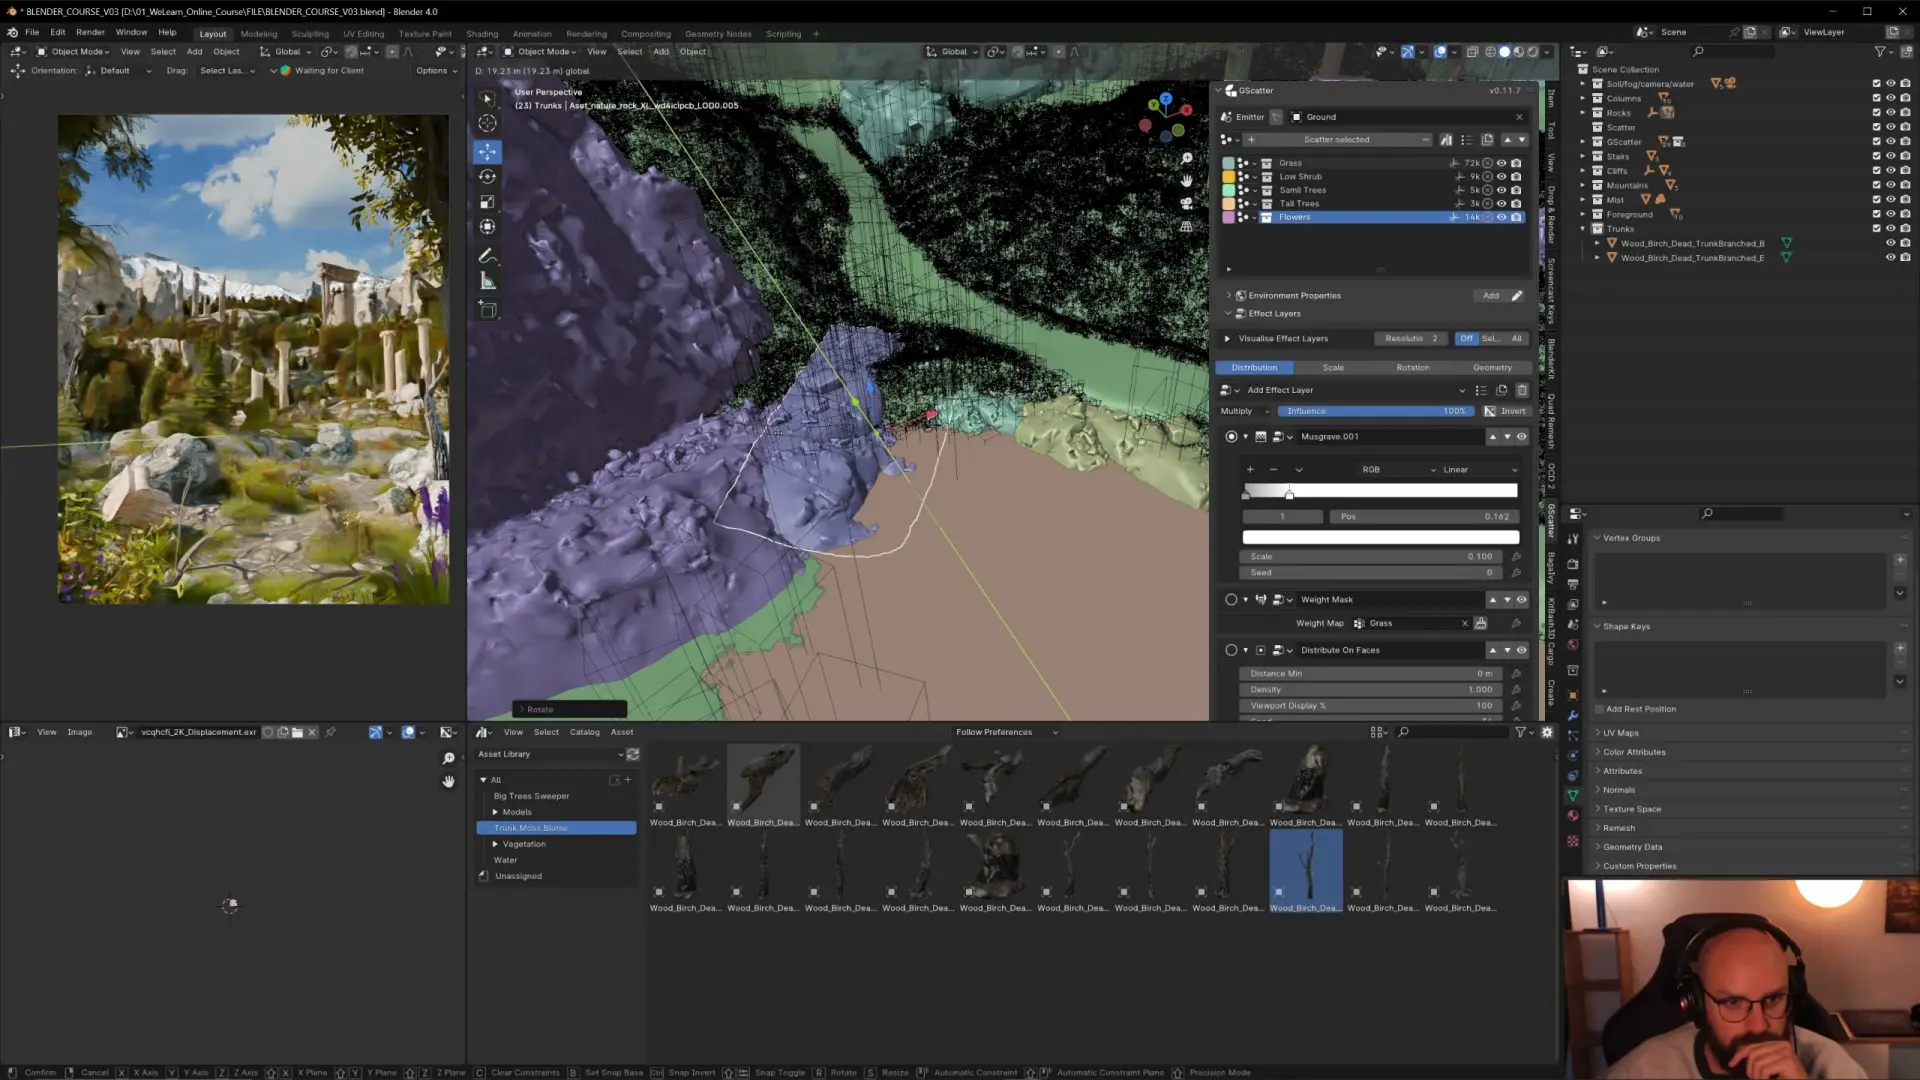
MODULE 6 – DETAILING THE FOREGROUNDn+ FINAL DETAILS
Time to work on the foreground, I will frame our shot better. I will vary the color vegetation and add the final details to the scene.
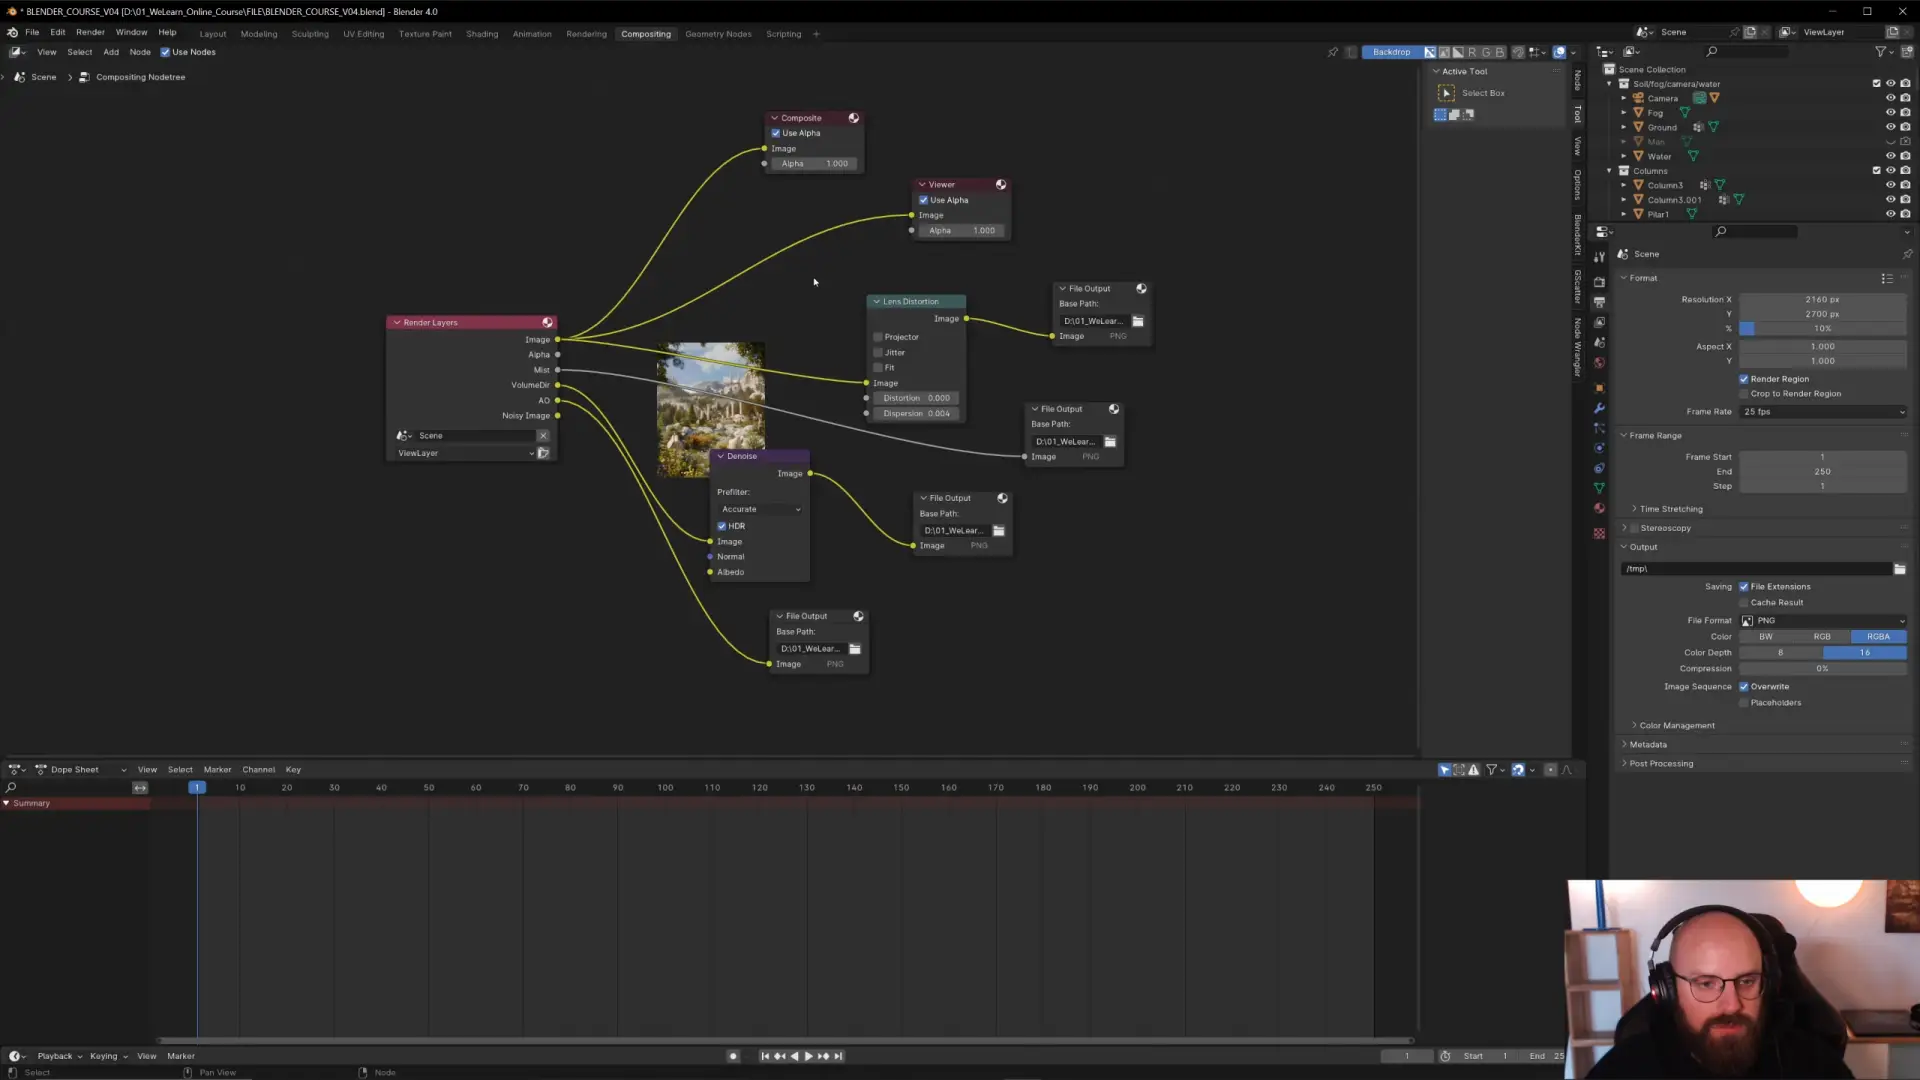
MODULE 7 – RENDER SETUP
Once everything is perfect, we’ll set up the render in the compositing tab.
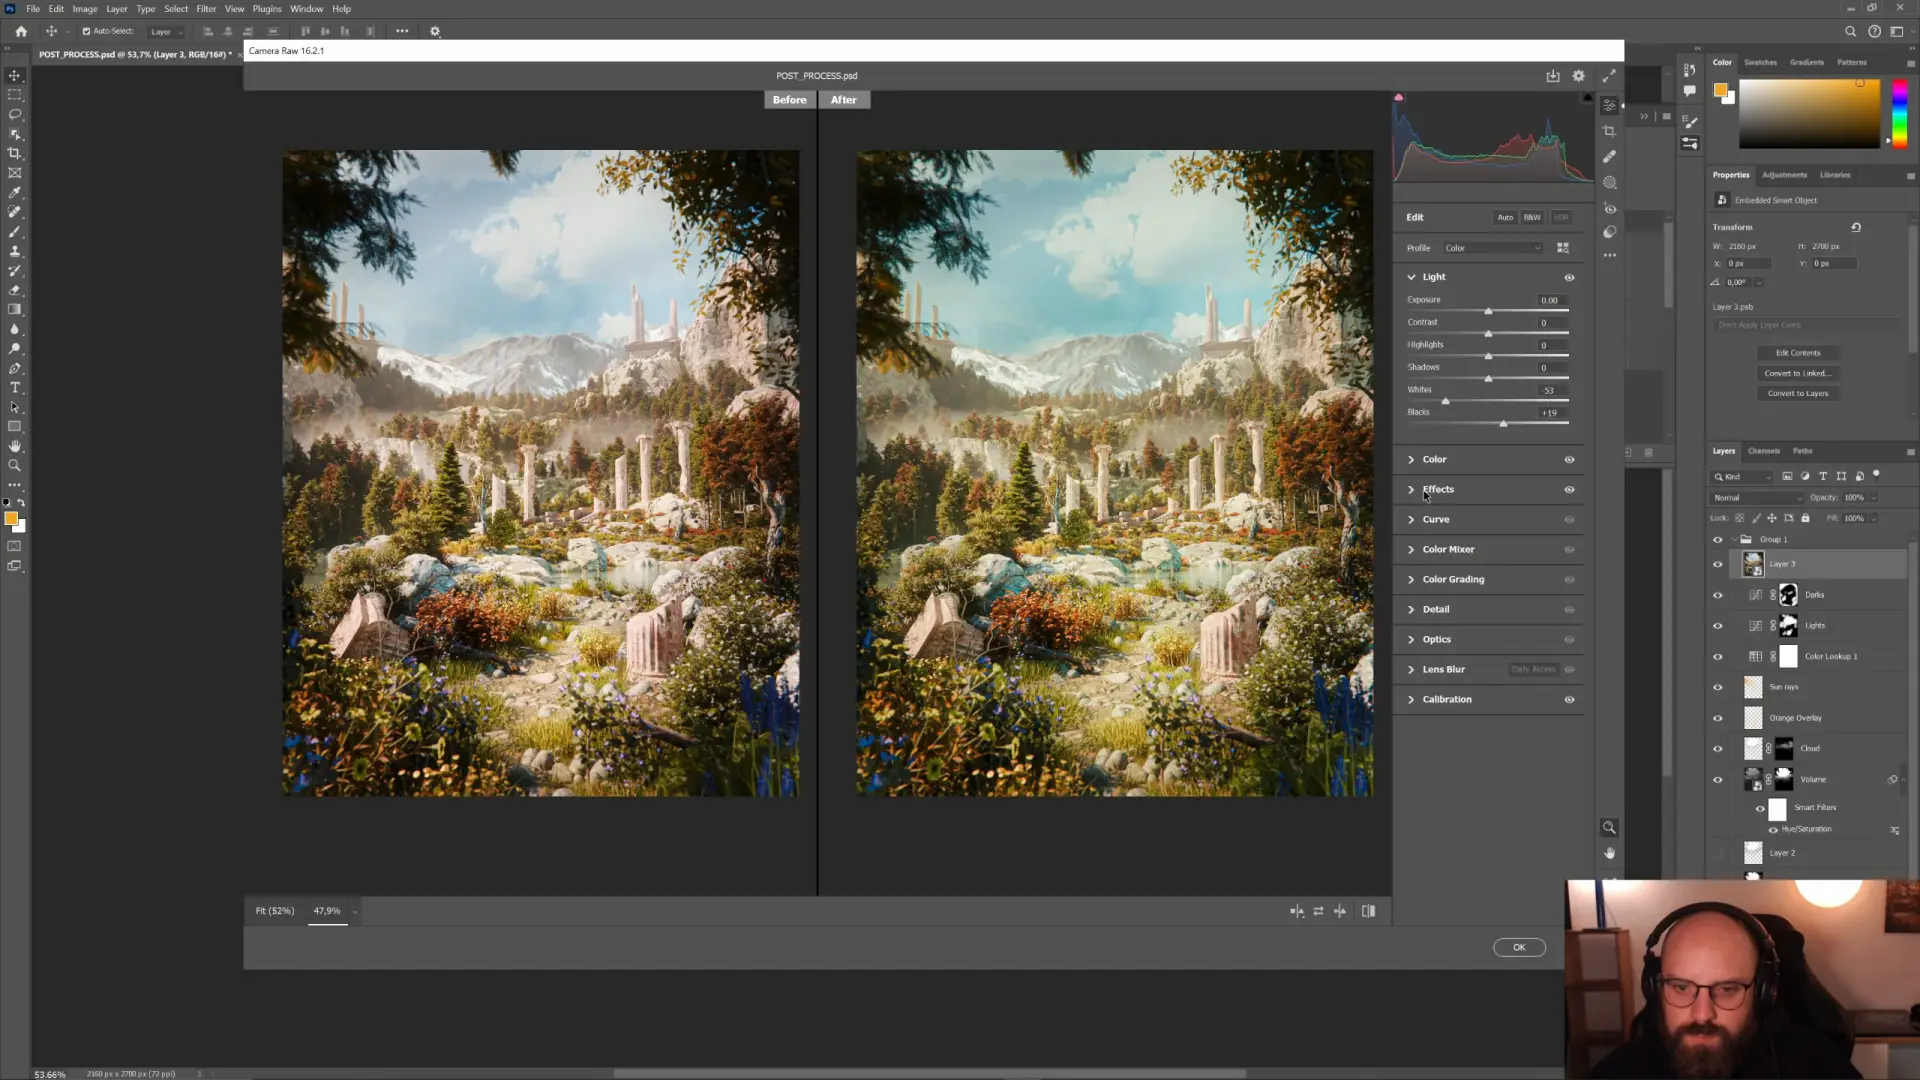
MODULE 8 – POST-PRODUCTION
Now that we have rendered the scene we can polish the visual using Photoshop to get the final artwork.
Student Testimonals
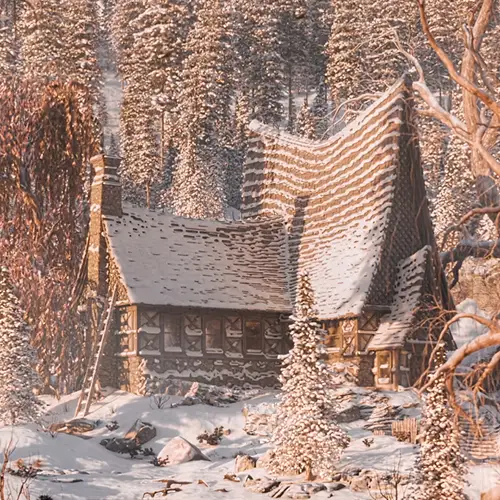
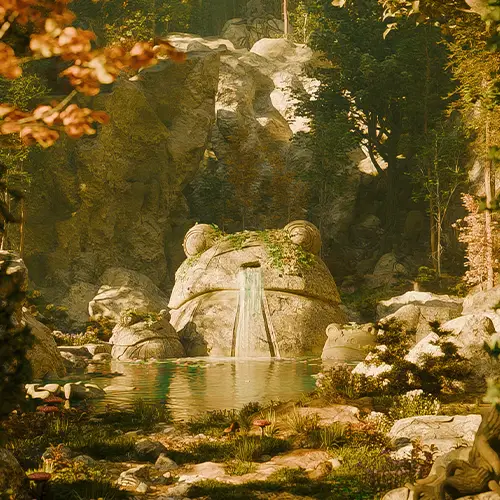
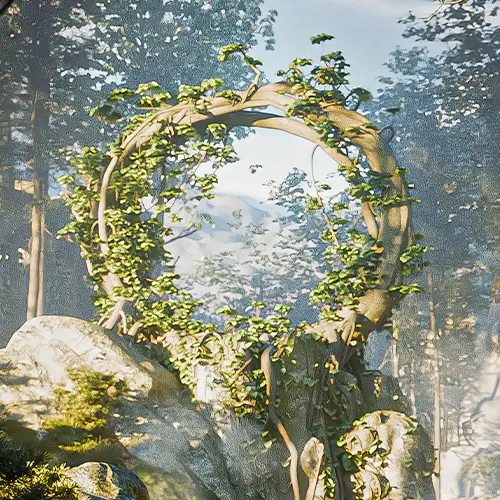
RAFAEL S.
This was exactly what I needed to level up my work. His courses goes beyond static environments and shows how to add movement in a natural, believable way. It gave me confidence to create full scenes instead of isolated assets.
Emily C.
I loved how practical and well-structured his courses are. Watching the full process of creating and animating a nature scene helped me understand not just the how, but the why behind each decision. My scenes feel more alive and professional now.
Daniel B.
This course completely changed the way I approach environment creation in Blender. Florenaux explains every step with so much clarity, from building the scene to animating subtle details that bring everything to life. It finally made complex workflows feel achievable.
Includes asset packs to make beautiful environments
*Above image is an example of the packs used in a render.
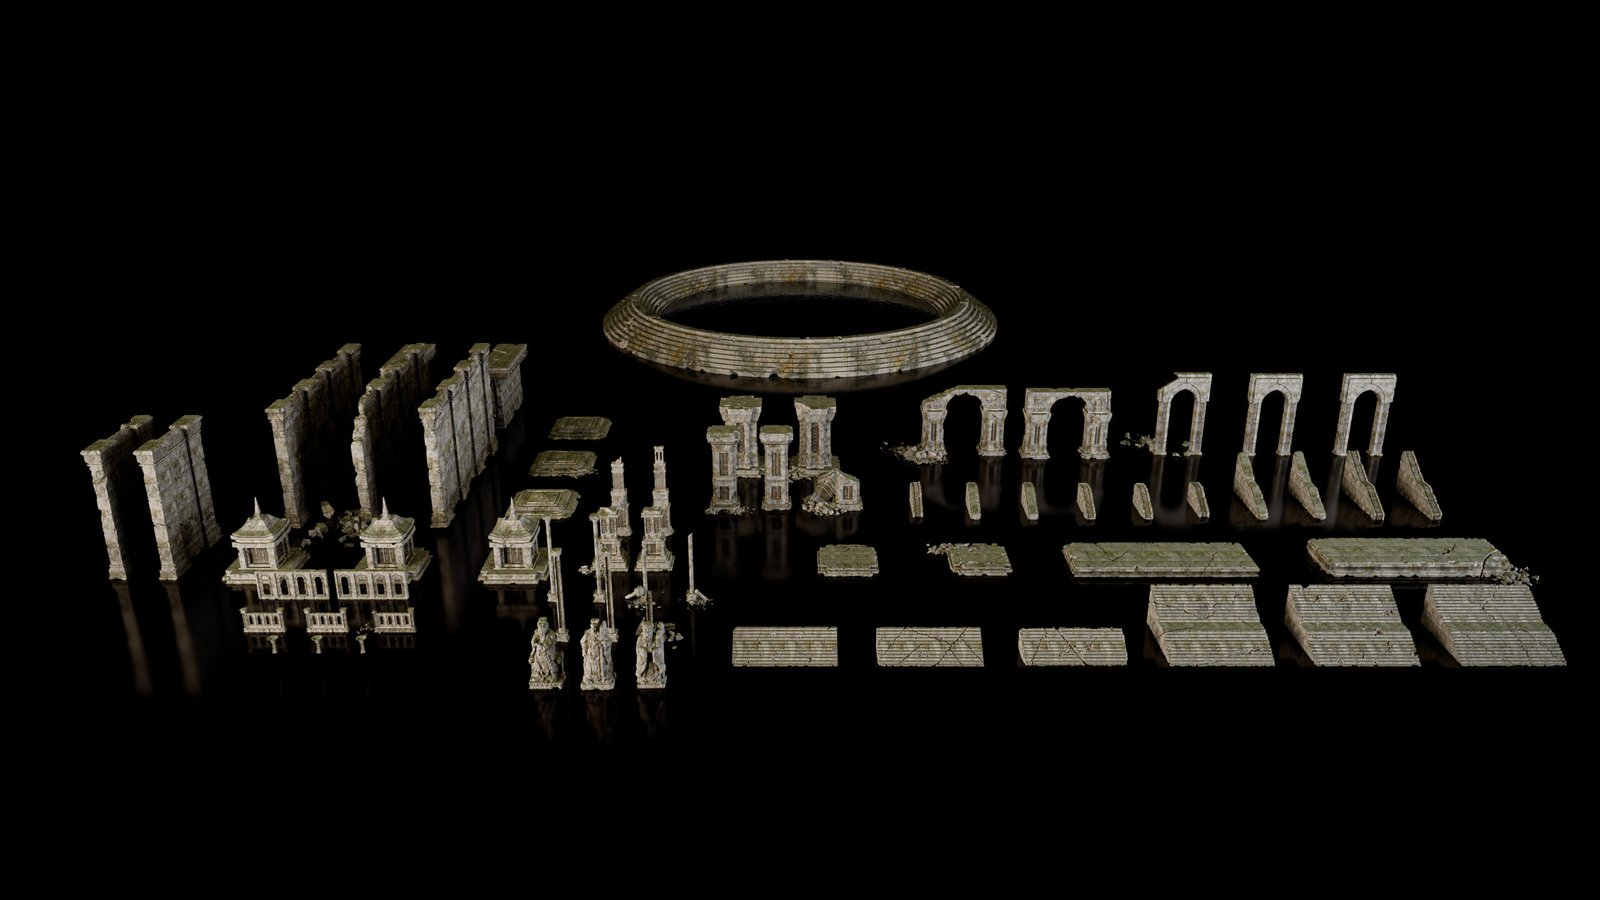
1. ABANDONED SHRINE – Modular Kitbash
This pack contains 66 modular assets designed for kitbashing, created entirely in Blender and available exclusively in .blend format.
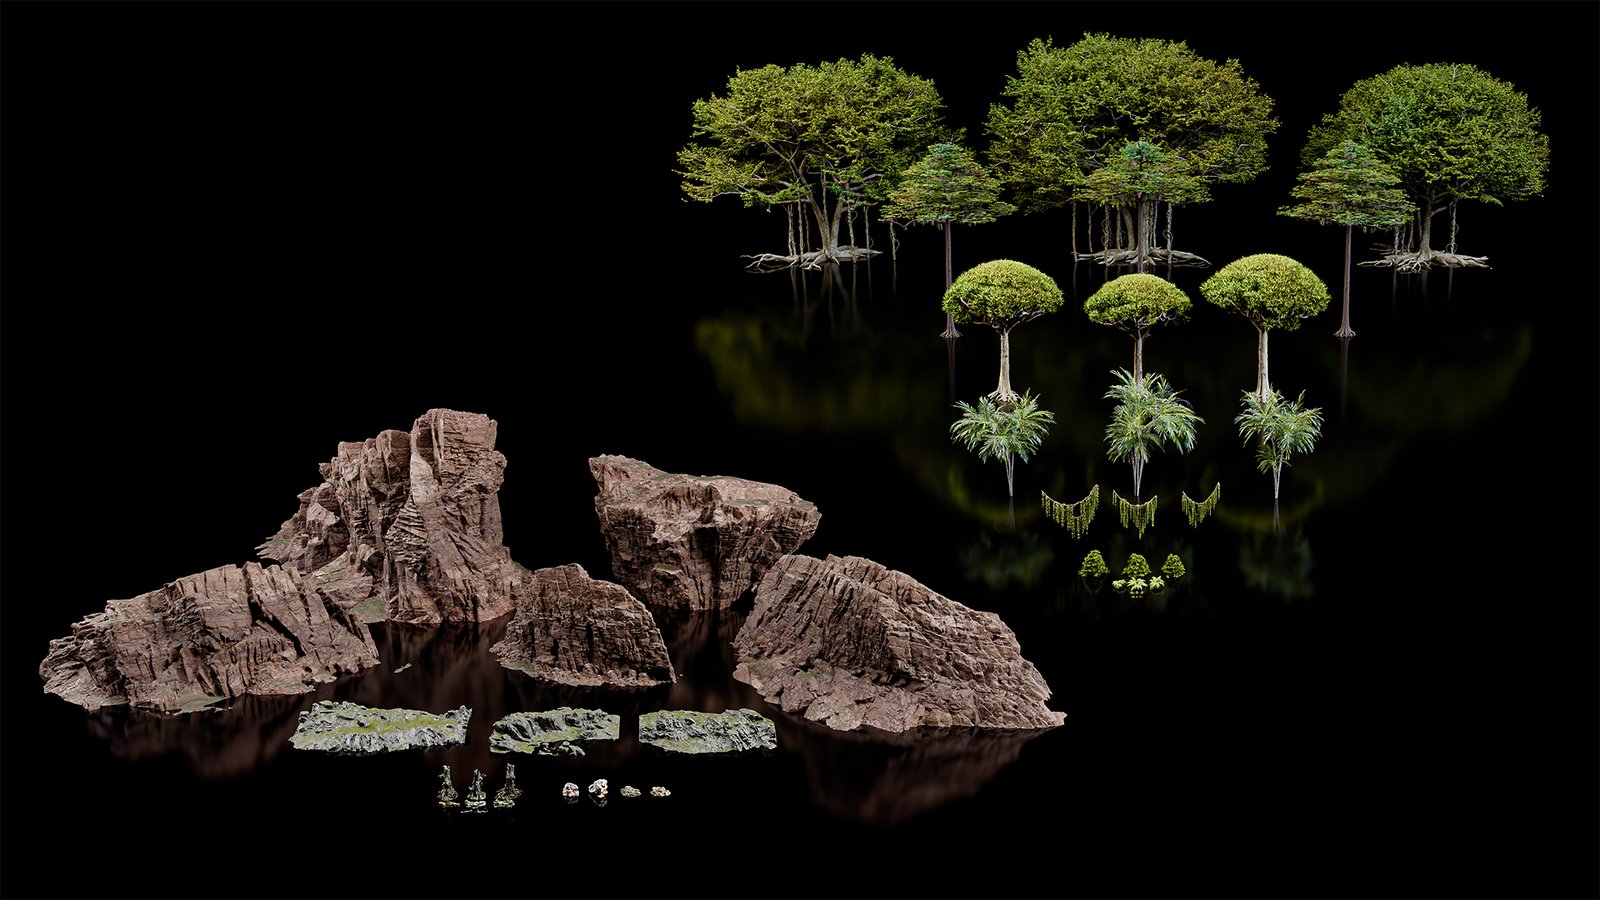
2. Vegetation Asset Pack Tropical
Contents (47 assets) :Moss: 3 variants Grass: 3 variants Fern:3 variants Fatsia Japanica: 3 variants Palm Tree: 3 variants Dragon Blood: 3 variants Wild Fig Tree: 3 variants Kapock Tree: 3 variants Vines: 3 variants Branches and trunks: 8 variants Cliffs and rocks: 12 variants.
Seasonal color customization, adjust foliage color by season and by zone directly in the shader
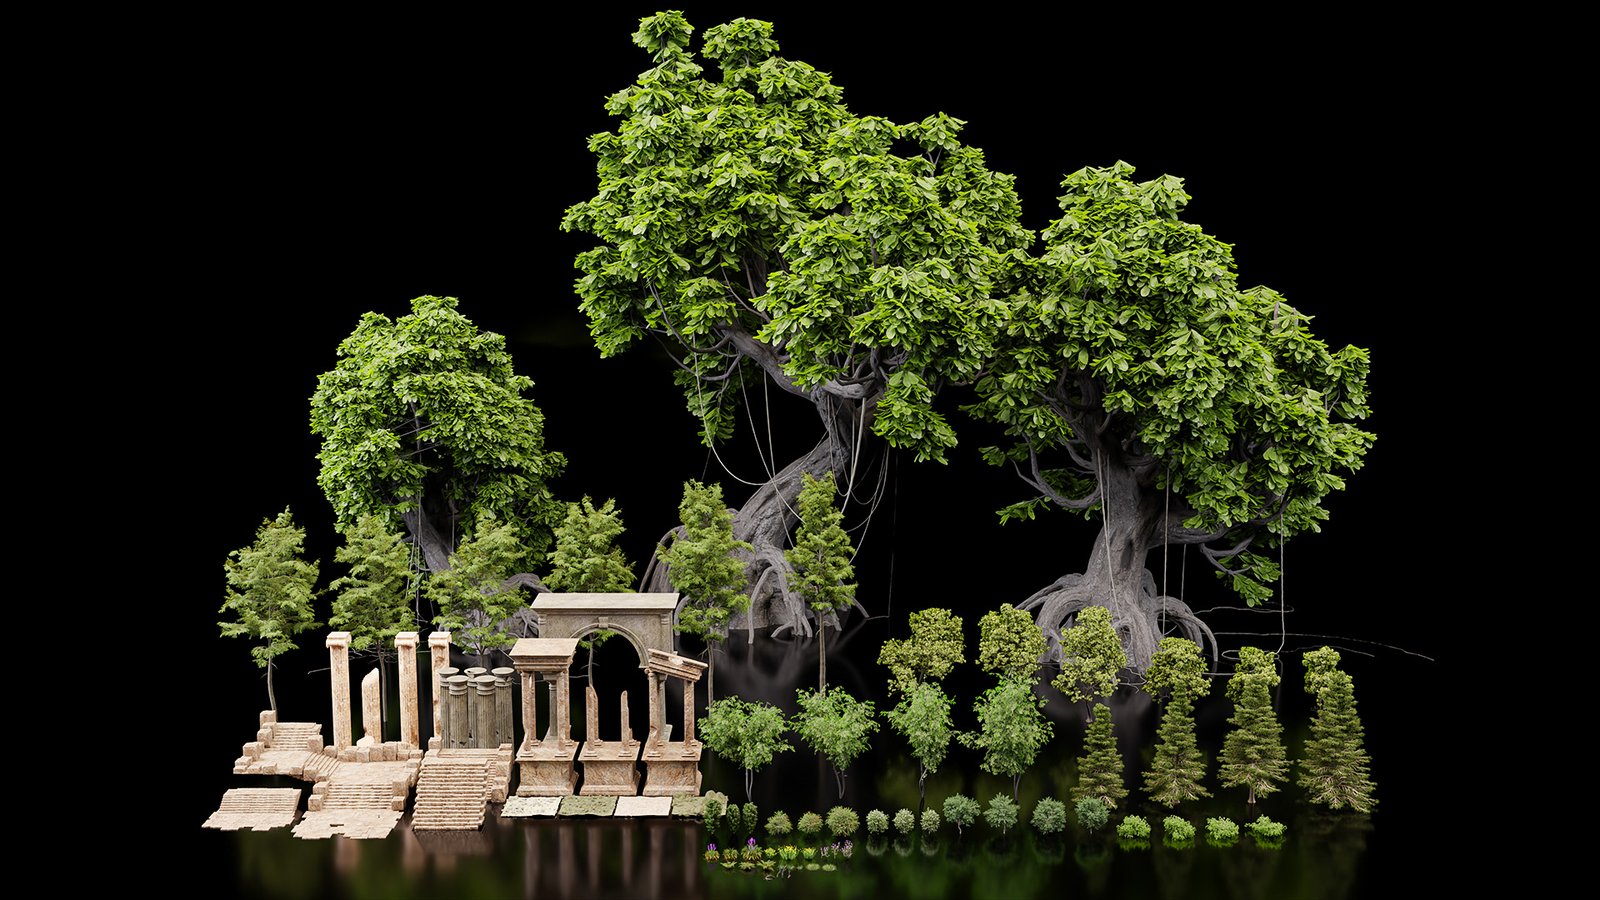
3. Vegetation Asset Pack vol. 01
A pack containing the assets I use in this first course. You’ll find everything you need to follow along with my course, but you can also use other assets included in this course. A variety of vegetation, ranging from moss to massive trees, as well as columns, arches, and staircases (a total of 84 assets).
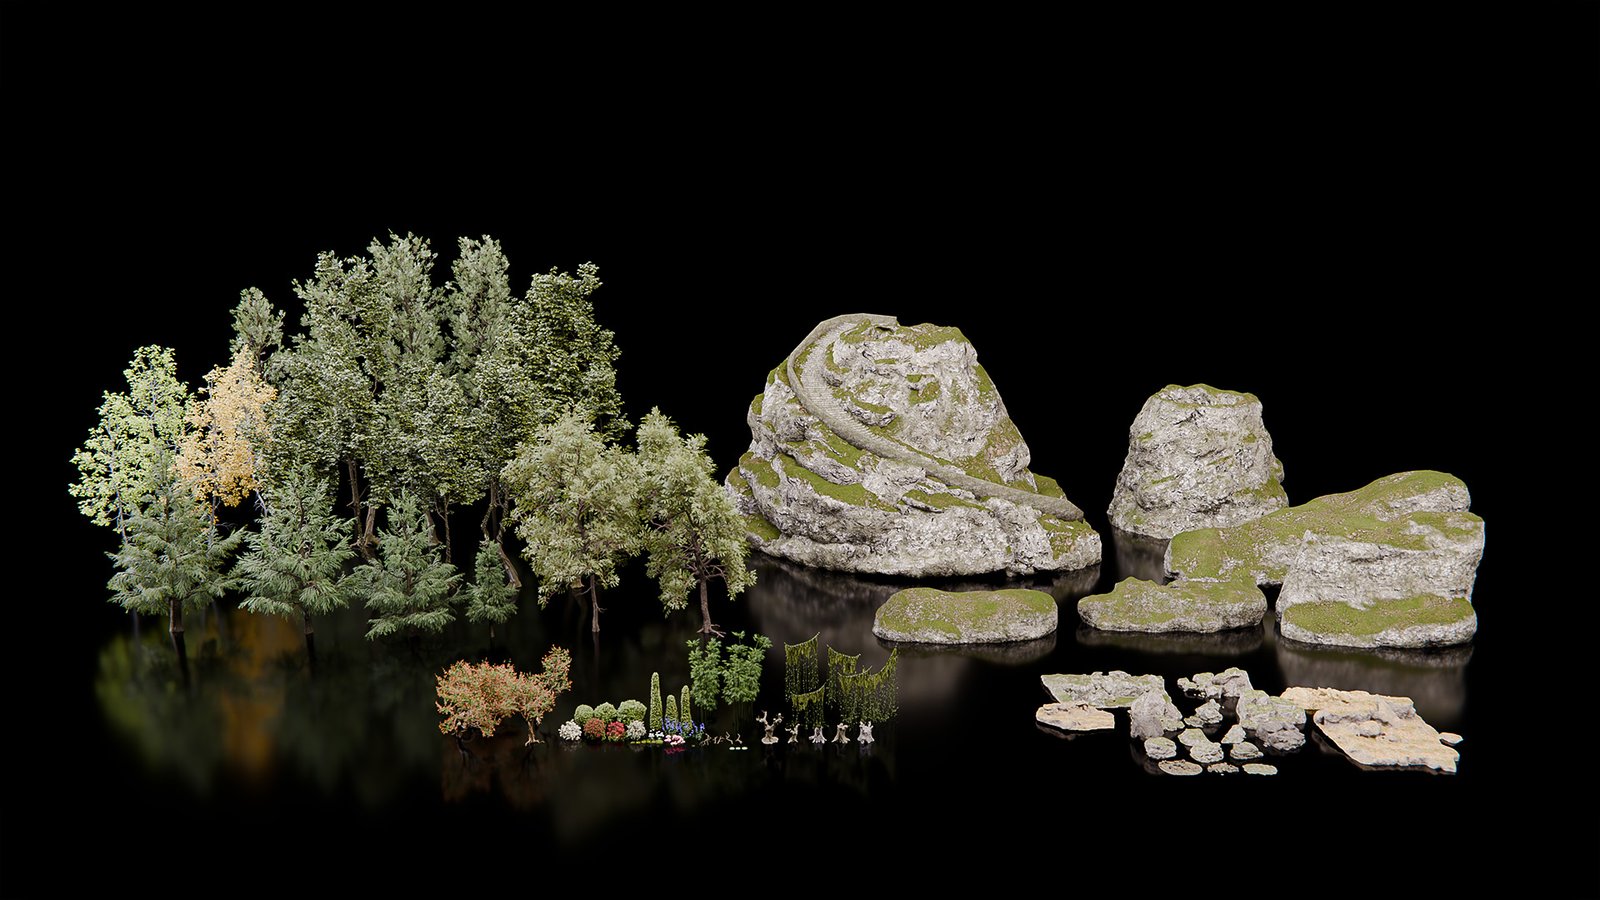
4. Vegetation Asset Pack vol. 02
More than 110 assets! More vegetation and rocks assets.
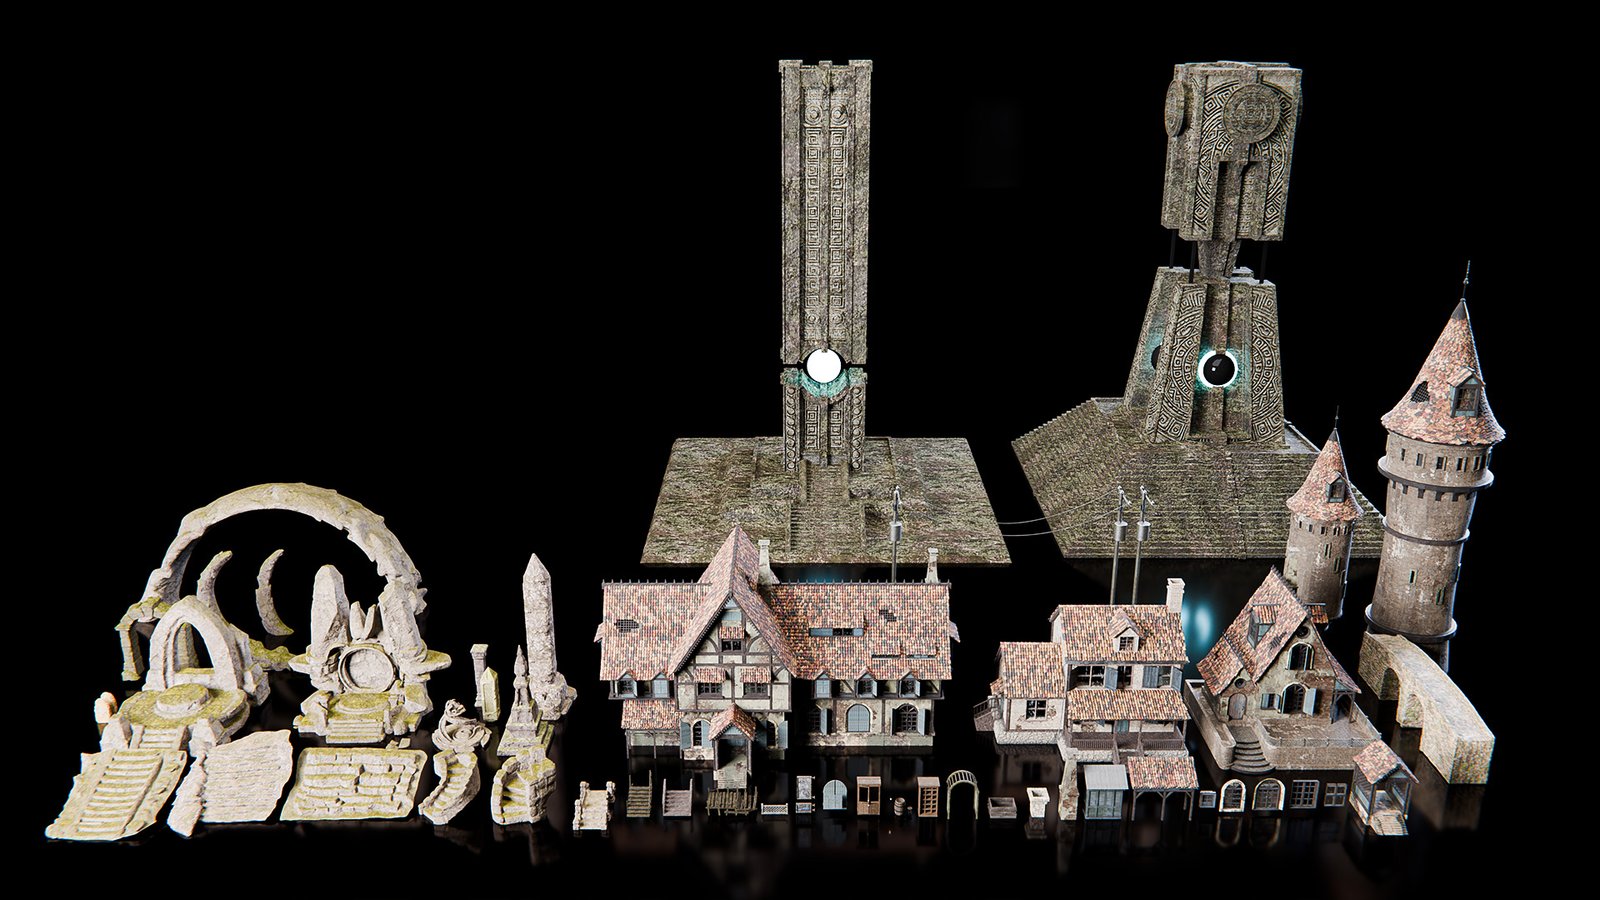
5. Architectural Asset Pack
56 architectural elements, including staircases, bridges, arches, columns, and other structures.
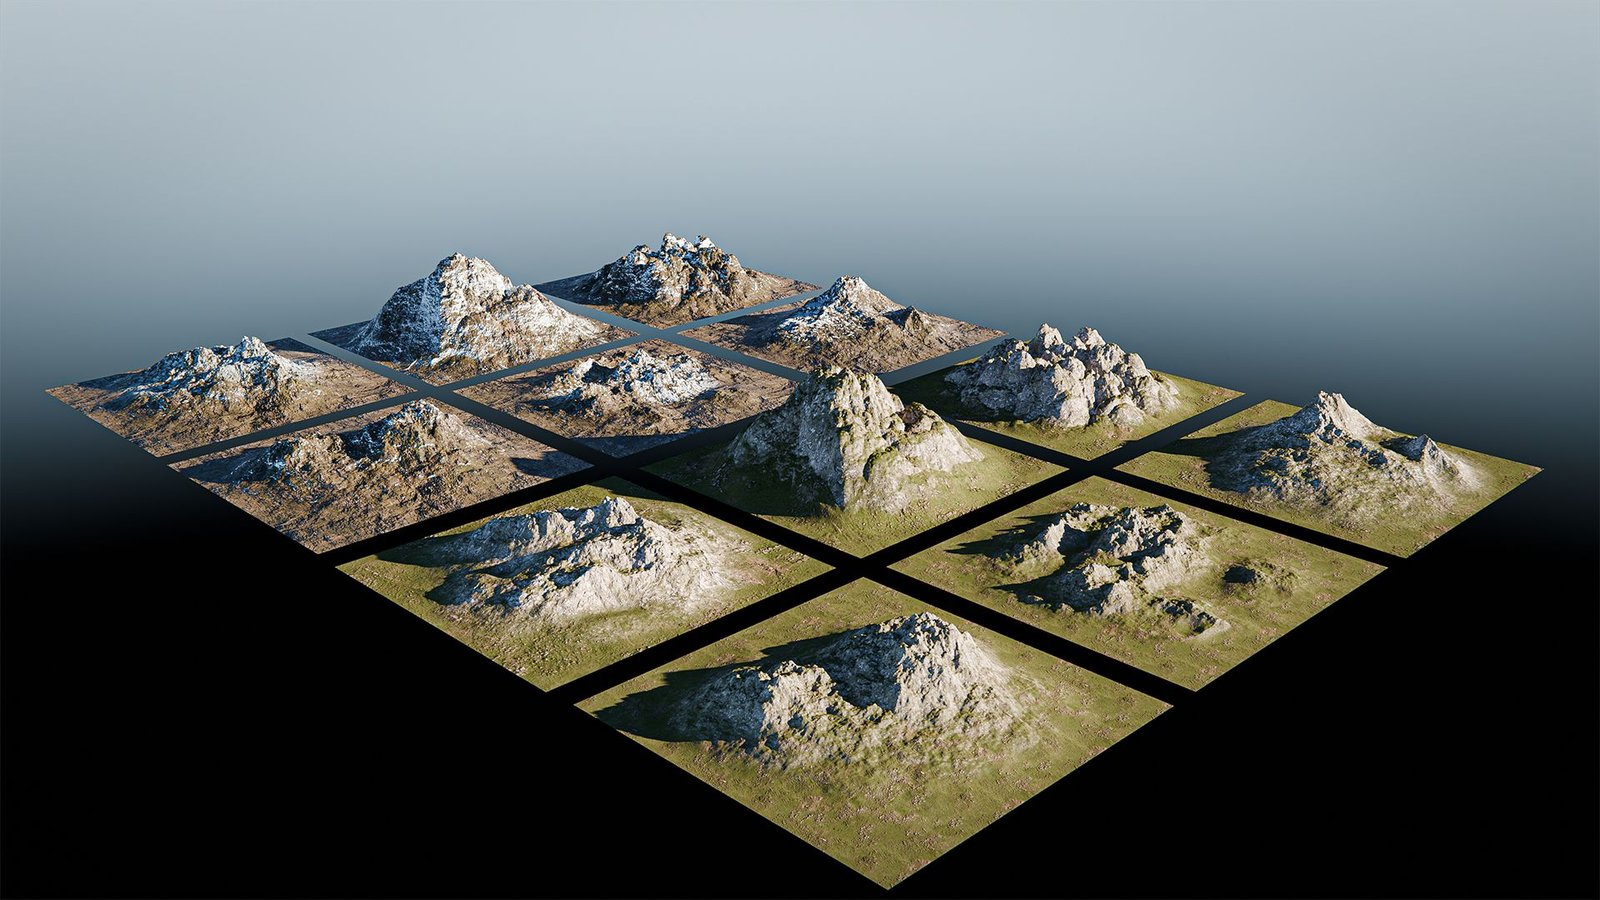
6. Mountains Asset Pack
12 mountain models to use mainly in the background of your renders!
GET IMMEDIATE ACCESS:
How to create beautiful nature render with Blender
One-Time Payment
$127
- 6+ hours of course
- 30+ video lessons
- 8 modules
- Access to my Discord
- Certificate of Completion
- Access on any device
- Lifetime access
- 30-Day money back guarantee
- Daily support
- Access to 375 assets to create your scenes during class and afterward
Frequently ask questions
Is the course live?
This is a self-paced course. This means the content is made of pre-recorded videos you can watch whenever you want, at your speed.Learning with an on-demand course, you can pause and practice with exercises. And you can always return to your favorite subjects or to the most challenging techniques until you master them!
What software do I need to follow along with the course?
The course is built around Blender, with light use of Photoshop for post-processing.
All of the asset packs come as .blend files.
Will I have access to the course right away?
YES! You will get access to the whole course and all the materials immediately.
For how long will I have access to the course?
The course will be yours FOREVER! You can watch the videos as many times as you want and for all the time you want! You won’t have to pay any recurrent fee after you purchase the course.
How difficult is the course?
A basic familiarity with Blender is required for this course. Newcomers to the software are encouraged to first complete Blender Guru’s donut tutorial series on YouTube, which covers the essential fundamentals.